
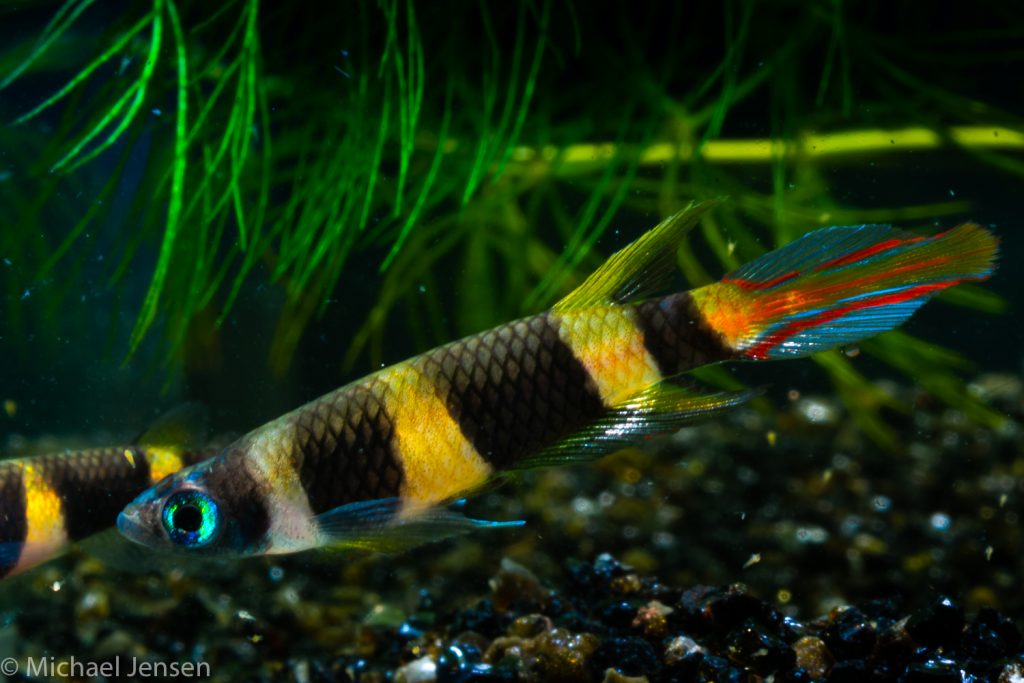
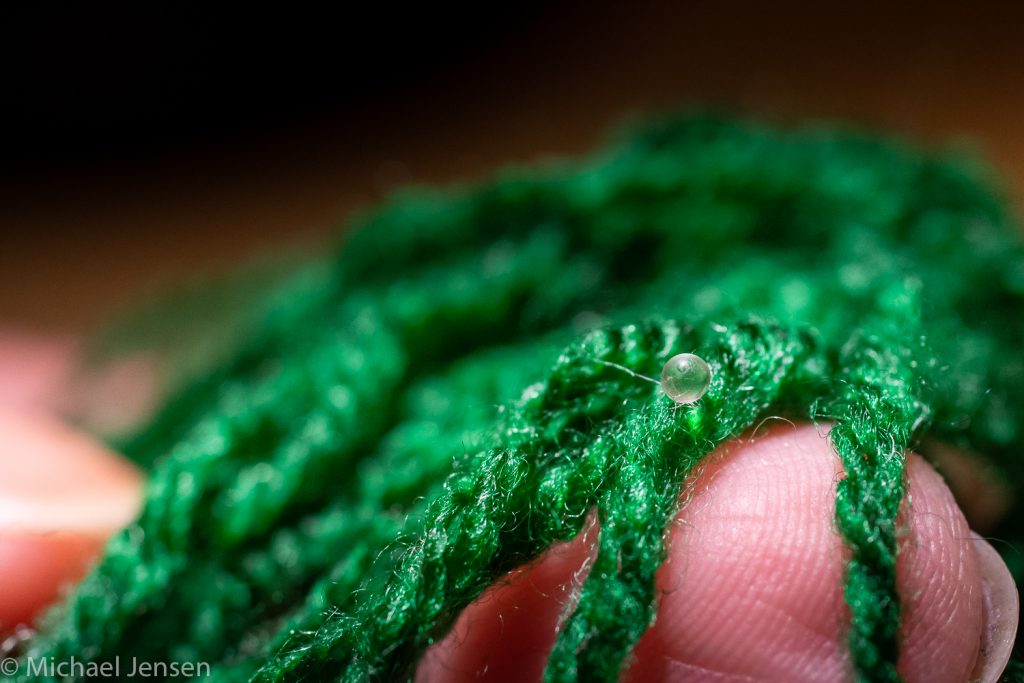
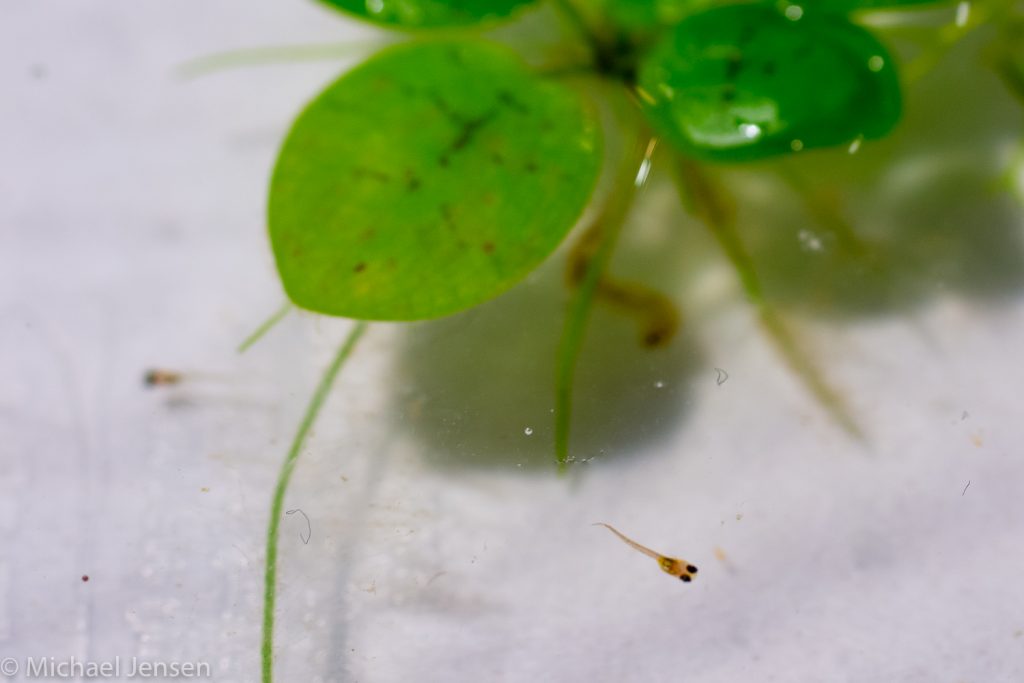
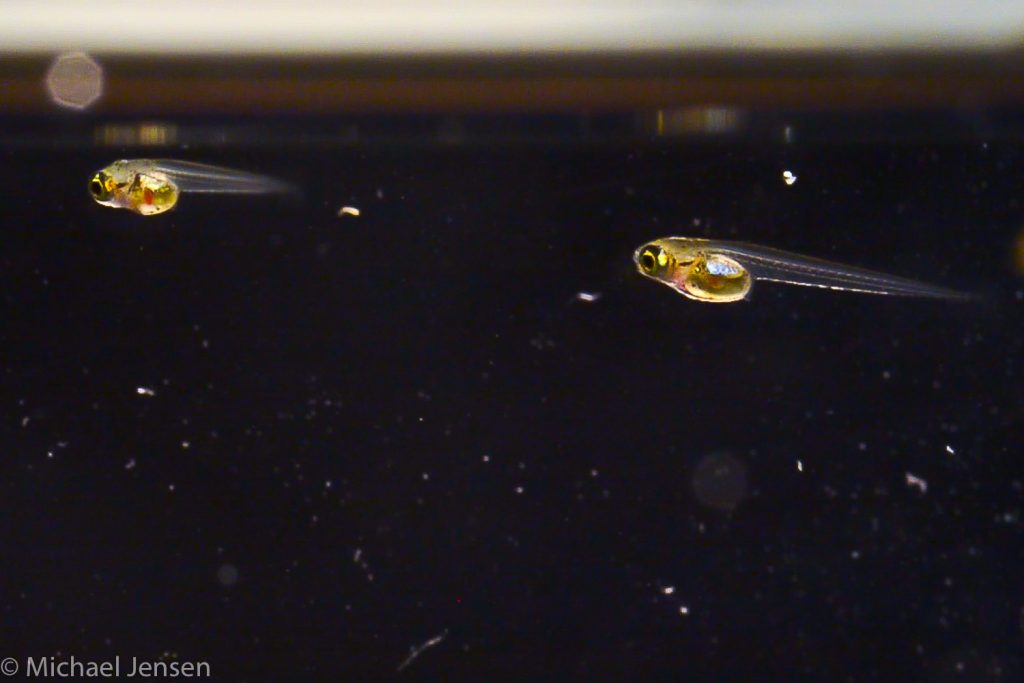
Okay – success! You have eggs in the mops or newly hatched fish fry. Now all you have to do is feed them.
Most aquarium fish fry are small – but some are unusually small. While fry of some species might be able to feed on microworms and newly hatched Brine shrimp as soon as they start swimming – fry of other species requires much smaller food items. Such as infusoria.
Infusoria…
is a collective term for a wide range of microscopic aquatic creatures. I won’t go all scientific on you here, since all you need to know is: These small morsels are tasty and soft, and even the smallest fish fry will eat them.
Best thing is. You can cultivate millions of infusoria in a small jar in your home, and the ingredients you need to start your own production of free food is probably in your kitchen already.
Infusoria can be cultivated in many different ways. This is just the recipe, that works for me.
Let’s take a look at the stuff you need:
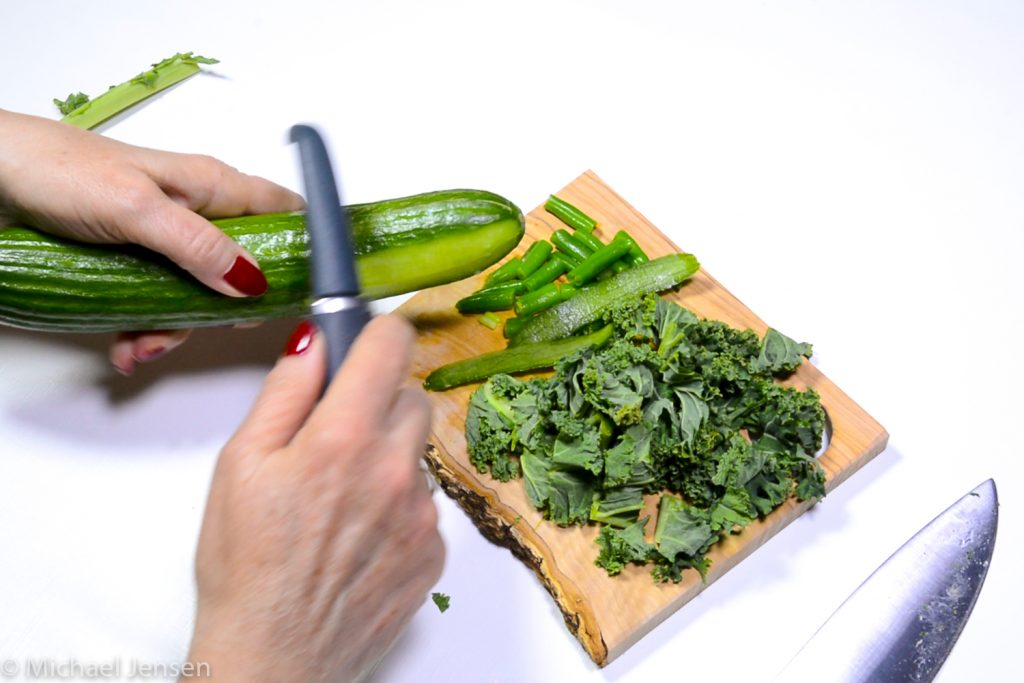
A sharp knife and a cutting board
A transperant jar. Mine is a glass jar about 2,2 litres (¾ of a gallon).
Some organic vegetables or fruits.
Some water from a circled aquarium
A bit of aquarium plants
I add a pinch of dried yeast as well
Boiled water – or a microwave oven
After that: all you need is time
Ok, this is what you do!
Chop the vegetables up to small 1 – 2 inch pieces. You can use a lot of different vegetables and fruits. Here are some examples: cucumber skin, lettuce or spinach leaves, green cabbage, green beans and peas. There are probably as many recipes as there are fish breeders out there. If you have beans or peas in the package, squeeze them a bit. This will help them break down faster in the water.
I boil the vegetables 1 minute on full effect in the microwave oven. Alternatively pour boiling water over the vegetables and leave it for 5 minutes.
Let the vegetables cool.
Add vegetables to your glass jar
Add aquarium water from a circled tank
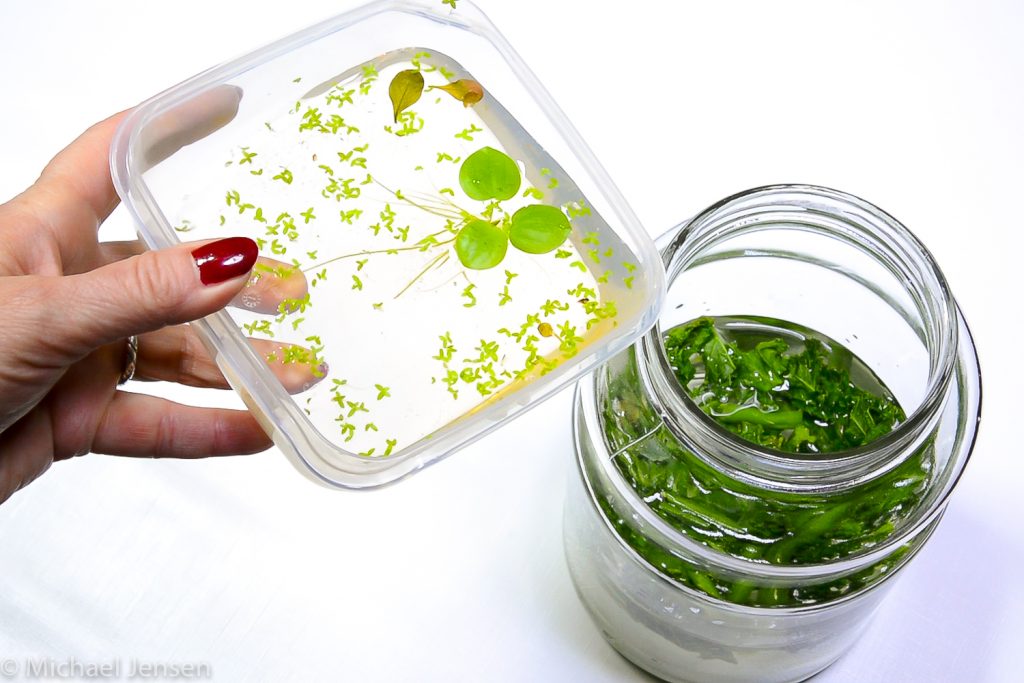
After that in goes the aquarium plants. I use frogbit and duckweed since it need to be harvested on a regular basis anyway.
I add a pinch of dried yeast to speed up the maturing. Don’t think it’s super important, though.
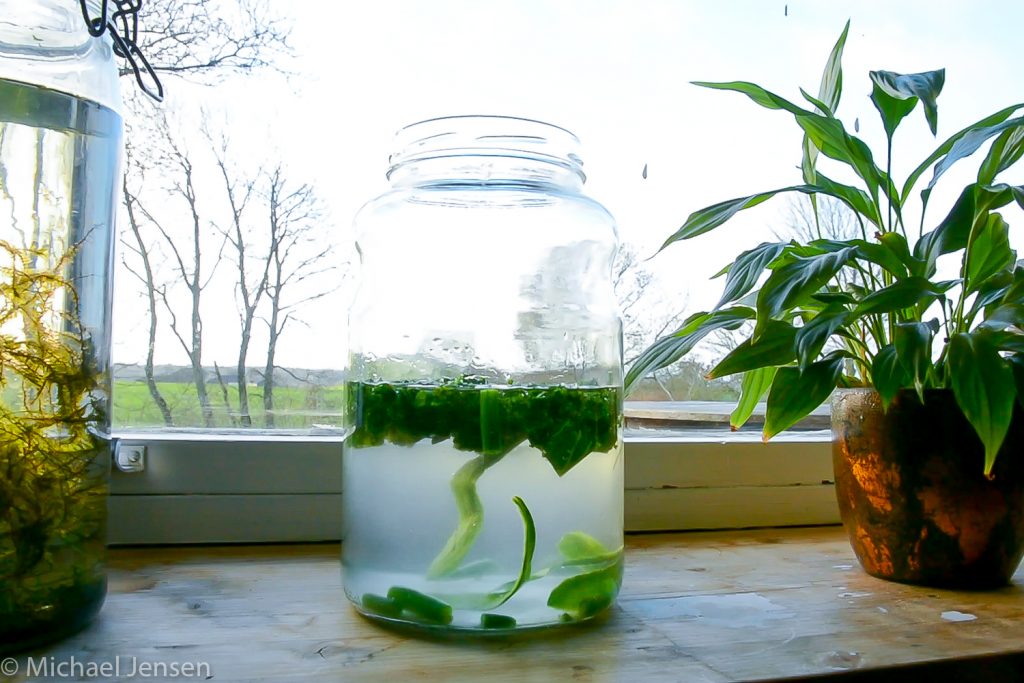
Place the jar in a window, where it gets some light – since algae growth will benefit the infusoria. You can put a lid with small holes over the jar to keep mosquitos and other insects out. Most of the time I don’t.
And you are almost done
The last ingredient is time: since we are dealing with live organisms, nothing is certain. It can take from 1 to 4 weeks before your culture matures. Most often mine is ready in 1-2 weeks.
The culture starts to proliferate in a few days, depending on temperature and light.
First the vegetables will float to the surface, and later on they will drop down again.
The water first turns cloudy, as the bacteria starts the process of breaking down the organic matter. The culture doesn’t exactly smell like roses during this process.
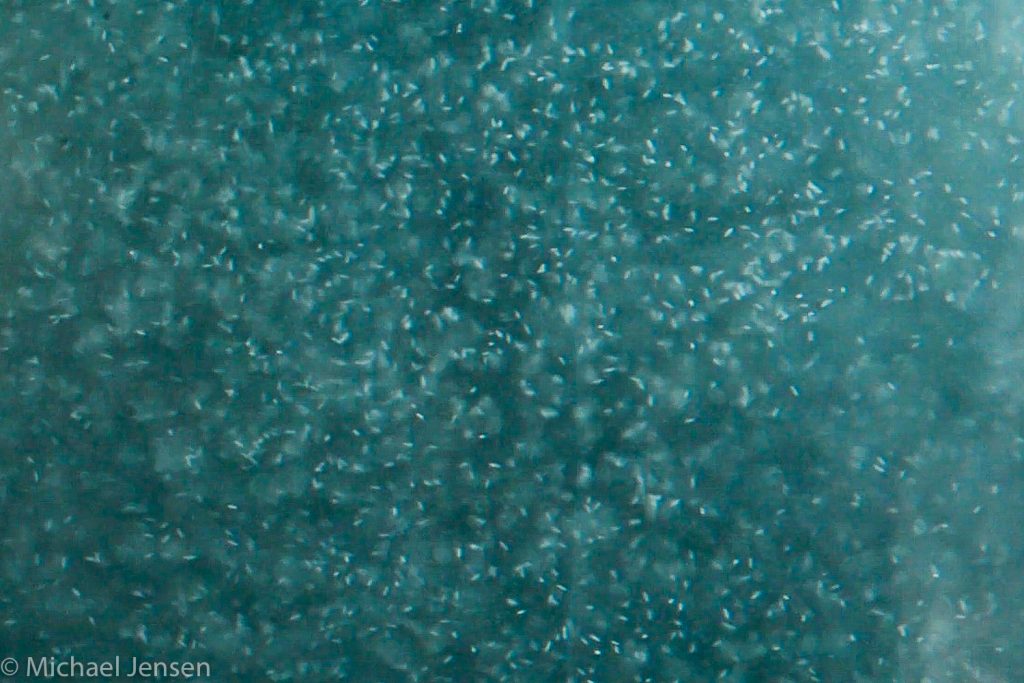
After the bacteria bloom, the infusoria starts feeding on bacteria – and the water starts to clear. The bad smell also disappears.
The water will now be relatively clear except for the clouds of infusoria that are visible to the eye as small, white specks swimming in the container.
Don’t overfeed
You are now ready to feed the infusoria to your fish fry.
Suck up the infusoria filled water with a syringe, an eye dropper or just a piece of air tube. Blow the food right down among the fry.
Feed often and sparingly – always make sure the water in your fry tanks stay clear or clears before the next feeding.
How long will an infusoria culture last?
This again is very individual, depending on light, temperature and a lot of random factors. From 2 days to a week or more. Make sure to start a new culture in time. You can speed up the process by adding some water from an already established culture.
That’s all for now. Good luck with your culture.
You can see this blog as a video on my YouTube channel as well. Check it out right here
Affiliate links
(Do you want to know more about Affiliate? Read here: https://aquarium.michaeljensens.com/a…
Support My Channel by purchasing things from Amazon through this link (It’s FREE!): https://amzn.to/33uUhXA
My aquarium light: https://amzn.to/2MZBxun
The camera gear I use for making my videos
My DSLR Camera
Nikon D7100 camera
https://amzn.to/2YgHCFs
My Lenses
Nikon AF Nikkor 28-70
https://amzn.to/2JmwWBf
Sigma Macro 105 1:2,8D
https://amzn.to/2YcMHyH
Sigma Macro 50mm
https://amzn.to/2YlYCKT
Nikon AF-S Nikkor 16-85 mm 1:3,5-5,6
https://amzn.to/2LJwHmH
My all weather/underwater camera
Olympus Tough TG-5
https://amzn.to/2Y99ETo
Tripods and stuff
Manfrotto Tripod
https://amzn.to/2LqD266
Gorilla Tripod
https://amzn.to/2LuDT5V
STSEETOP Sun Shade Screen Protector
https://amzn.to/2l69r5L
Bags and backpacks
Pelican Protector Case 1600
https://amzn.to/2Yeyz8c
Photo Bag
https://amzn.to/2PRIDkF
National Geographic Africa Camera Backpack, Brown (NG A5290)
https://amzn.to/2mNBmI4
Microphones and recorders
Røde Link Filmmaker Kit
https://amzn.to/2LuFokz
Zoom H1
https://amzn.to/2Y8t1vY
Microphone Furry Windshield
https://amzn.to/2LEprIK
Gimbal
Feiyutech
https://amzn.to/2JykA9l

